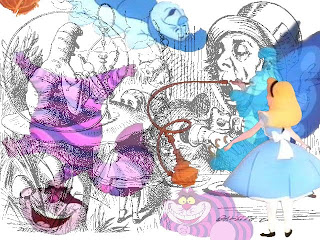
Before we begin, I will demonstrate some of the cool layer styles and effects that you find useful in your project. I will also demonstrate the basic collage building process. You will then have the next two days to build your collage.
- Create a new Photoshop document using your choice of the following dimensions:
- 1024x768 (20% of computer screens use this resolution)
- 1280x1024 (18.2% use this resolution)
- 1280x800 (17.3%)
- 1440x900 (10.5%)
- 1680x1050 (10%)
- Sometimes it's better to fill your canvas with a certain color (i.e. black, blue, or green) to serve as a base for your pasted images.
- Begin finding images [within your theme as well as being classroom appropriate] and save them to a folder on your Thawspace or USB drive. Make sure the images are large enough that you don't have to stretch them on your canvas.
- Begin "pasting in" images and dragging them to the best fit on your canvas.
- You may want to use a soft, feathered brush as an eraser and soften the edges of your images.
- You may also want to try adjusting the opacity on some of your images [layers] to help the layers "melt together" better.
- You may even try a color gradient overlay with low opacity for some interesting effects.
- Choose a font that fits your theme, and place a title on your page.
- Choose a small font and put your name on your new artwork.
- Try some layer styles (drop shadows, bevel & emboss, stroke, etc.) to improve your text layer.
Here are some examples of Photoshop collages:


No comments:
Post a Comment