
 Adding items such as lamps can actually be very easy. For example, if you look at the diagram on the left, you will see that I drew two curves, revolved each of them, and added a light source for a quick and easy table lamp.
 There are a variety of different lamp shapes, lamp shade styles, etc. You can even create a variety of table lamps to save for future projects.
You may also want to play with desk lamps with flexible bases (see example below). Simply draw a curve and use the "Pipe" command to make the pipe.

 Other pieces that are fairly easy to build include furniture items such as desks or beds. If you do a search for "desk dimensions" or "bed dimensions" you can often find good diagrams (or even plans) for putting the pieces together.


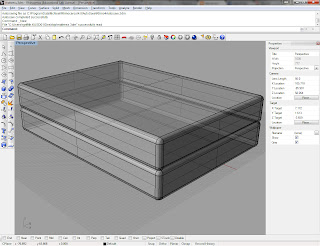 I am including a couple examples to get you started. Notice in the dresser design, that it consists of 10 boxes. You really just need a simple design to convey what the furniture is. Since we won't be opening the drawers of the dresser, we don't even need to hollow them out.


