Showing posts with label Drawing. Show all posts

Monday, March 12, 2012

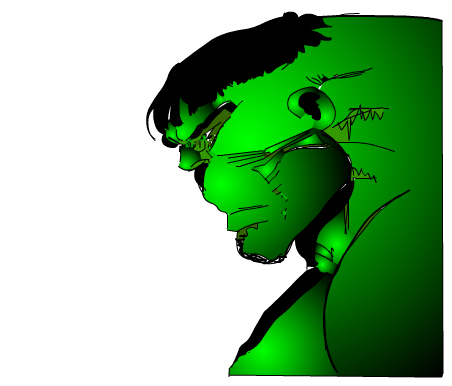
Flash: Trace an Image

The "Trace an Image" project really helps build skills with the drawing tools and gives us a good baseline for future projects.  Here are the steps I recommend for getting started:
  1. Open Flash and create new document (either ActionScript 2.0 or 3.0)
  2. Open an Internet browser and find a picture that you would like to copy.
    Although cartoons and line art drawings are easier, I recommend starting with a photo and seeing what effects you can get.
  3. Copy the picture (Right-Click and select Copy)
  4. Open Flash and Paste your image (Right-Click and select Paste)
  5. Go to Modify > Document
  6. Click on "Contents" and click "OK"
  7. Press CTRL+2 to fill the screen with the largest size possible
  8. Create a new layer (the little square "folded corner" icon under your layers
  9. Begin tracing your image
  10. When completely finished tracing your project, delete your original photo layer.
    Note: You can temporarily "hide" your original photo by clicking to dot under the eyeball on the layer holding the original photo.
  11. Save your completed file to your Thawspace
  12. Press CTRL+ENTER to test your finished project (this also creates an SWF file)
I would like you to spend today and tomorrow creating these traced images.  If you complete one quickly, do another one.  You can use these in another project in a few days.


Examples of Traced Images:


Thursday, March 8, 2012

Flash: Begin Exploring Adobe Flash

Today we begin Adobe Flash -- a program designed to create graphics, animation and interactivity for the Web.  After exploring the basic tools and menu options, we will be drawing a simple Flash picture.  The finished picture will be saved to Thawspace as an FLA file (Flash Source File) and then we will do a CTRL+ENTER to "Test Movie" -- a step which creates an SWF file (Shockwave Format) with the same name as the FLA file.

FLA files are Flash "editable" files -- really, the only way to open one is to use Flash.  The SWF files are able to be opened without another program, embedded on a web page, etc.  You can also save projects as Animated GIF files, but any interactivity is lost.

There is a folder on your desktop called "Drop Box" which should have a Flash file in it.  Open that file in Adobe Flash.  We will be using that file to learn some basic manipulation with Flash tools.


Friday, January 13, 2012

Drawing: Basic Face / Head Proportions

No, this isn't a drawing class -- but like the "Rule of Thirds" this technique can apply to many of our projects and designs.  Almost everybody who draws a face draws them out of proportion -- usually by placing the eyes too high on the head.
Notice that if you look at the human skull and divide it into a 4x4 grid, the eyes are directly in the center of the face.
By applying that same division to a human face, we can see that the line appears right on the top of the eyeball in most faces.
You may also notice that the width of the eyes usually equal the distance between the eyes -- and really, on the sides of the face as well.  This diagram shows 5 eye widths on the face.
Another interesting observation is that the center of the eye roughly lines up with the edges of the mouth, and the edges of the nose generally line up with the inside corners of the eye.

Notice in the finished drawing that the same line (now invisible) that ran across the top of the eyes also indicates where the ear joins the head.  Also notice that the eyebrows are not directly centered above the eyes.
You should keep these lines in mind if your figure is not looking directly at you.  Also remember that the head is really skull-shaped with "attachments" (nose, lips, hair, etc.).
While we are on the subject of proportions, this is an interesting general diagram showing human [male] body proportions.  Notice that "one head" is the unit of measure.  At the "second head" the line intersects the models chest -- at the 3rd, across the top of his naval... etc.
And this "sewing guideline" chart shows a few variations to the original.

Finally, here's a video demonstrating the facial proportions:

REMEMBER:

•  Add your name to your projects
•  Save Photoshop projects as PSD and JPG
•  Save Bryce projects as BR7 and [Save Image As] JPG
•  Save Sculptris projects as SC1 and JPG and export it as an OBJ.
•  Save Rhino projects as 3DM and JPG
•  Save Flash projects as FLA and go to FILE>PUBLISH SETTINGS and publish as SWF and JPG
•  Upload finished projects to your portfolio and/or your DeviantArt page
•  Keep checking your grade on PowerSchool