Friday, April 27, 2012

Flash: Virtual Paper Doll

Today we are going to be building "draggable" movie clips that will make a "Paper Doll" or "Mr. Potato Head" sort of thing.  The ActionScript isn't that difficult, but it is very time-consuming so I am putting up a template that we can use to get started.
I am also attaching a paper doll that I built from the template above.  It has a background music track, three extra models, and more.  Download the source file here.  You can also play with the SWF file here. To get the model and begin the clothing, I Googled "Fashion Paper Dolls" and clicked on images.  I chose to use this image:
Here are some paper dolls which match so you can share clothing and accessories:

 Here is an example of another set of paper dolls which let you share most clothing/accessories:

Also, this is another example of a more more complex "Paper Doll": [Click]

Once you have the template downloaded, either create your own model and clothing or look for good examples of paper dolls online.

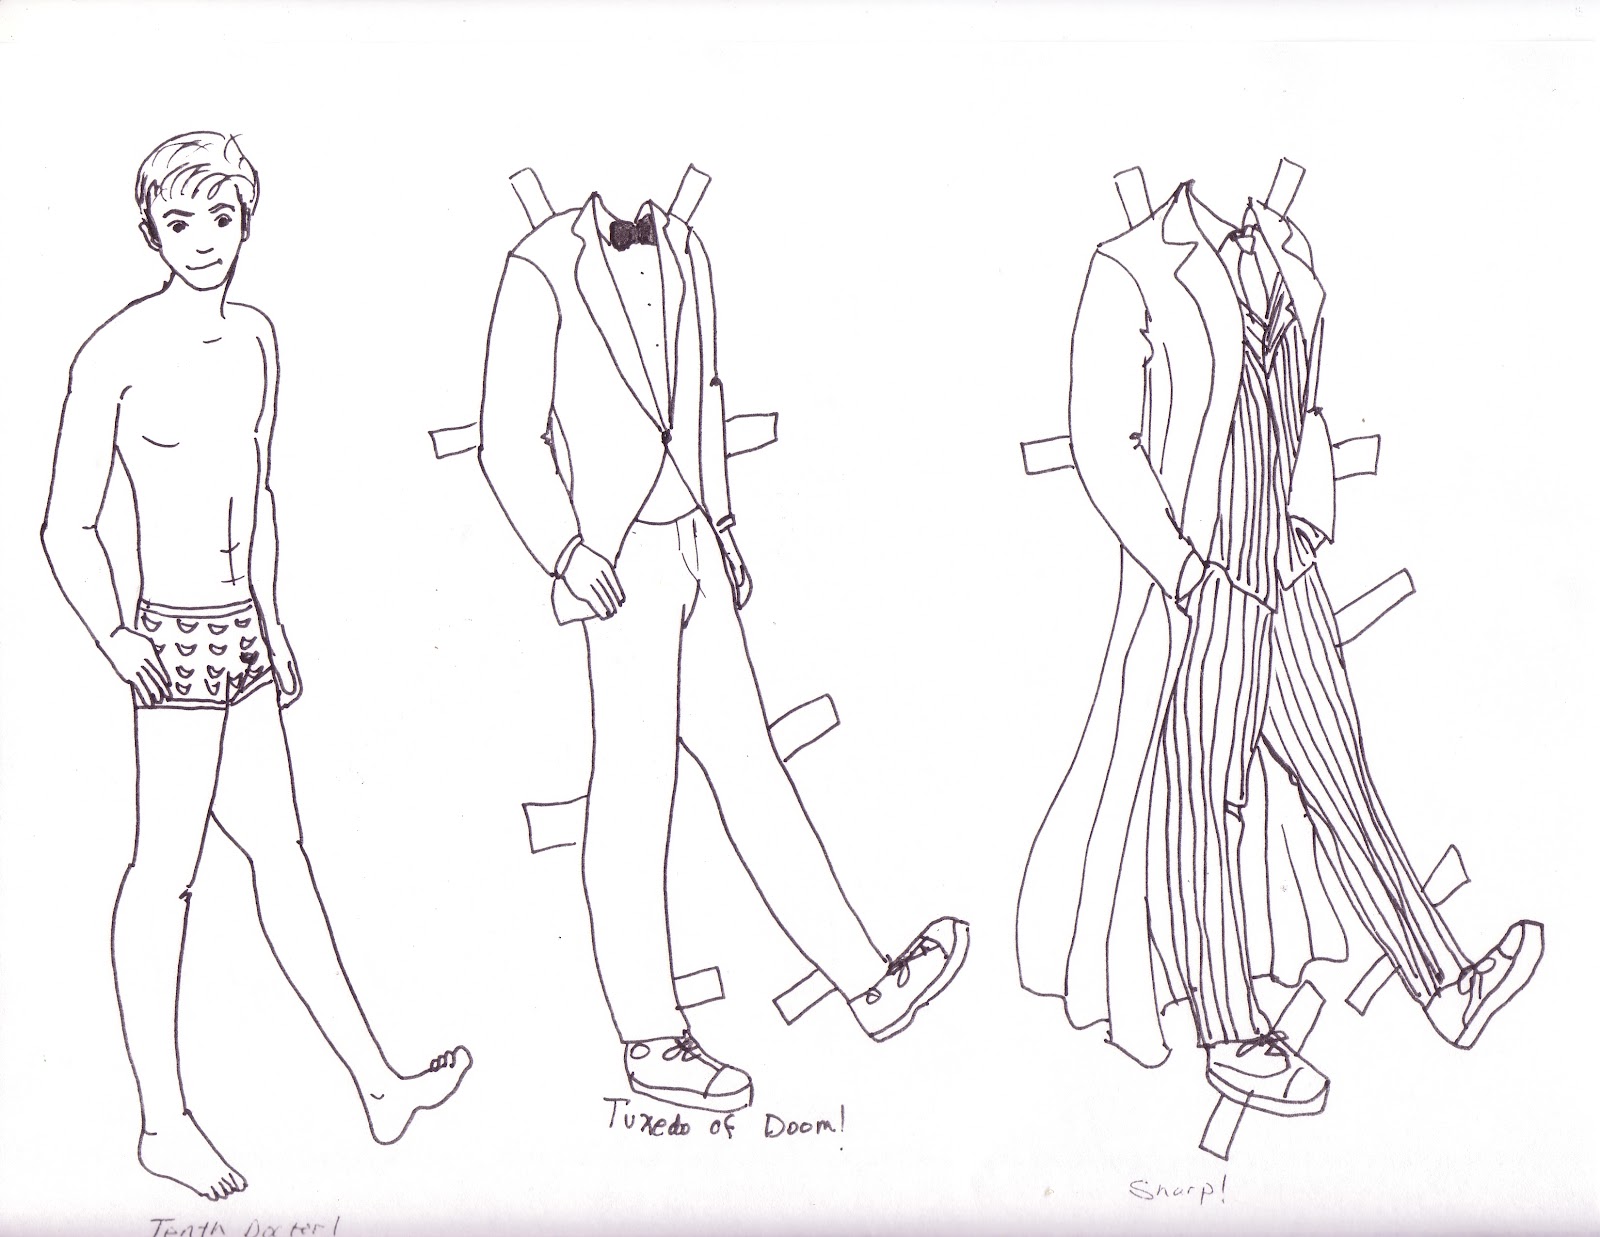
Here are some other examples of paper dolls with different looks, styles and themes:
Note:  You might be surprised to find that there are paper dolls for specific genres or subjects as well.  For example, a search (for something like Edward Scissorhands, Harry Potter, Thor, True Blood, Star Trek, Star Wars, Arrested Development, etc.) will yield results such as the following:
If you can't find the right paper doll, you can always make some of your own design.  For example, these [Doctor Who and Monster High] were drawn by hand and scanned:


Have fun!

Thursday, April 19, 2012

Flash: Multimedia Story Book

Today we are going to begin putting all of the different techniques together into an Interactive Story Book (similar to the Multimedia Greeting Card but with additional "scenes").  You can come up with an original story or find one that is in the public domain or retell an old fairy tale story in your own words.  Each "scene" will have words, images, and interactivity (mousing over and/or clicking to make something happen).

You should include the following:
  • A custom mouse pointer
  • An opening "scene" which stops at a specific keyframe or loops back to the beginning.
  • A button which will advance the viewer to the next "scene"
  • A "stop" on the next scene so users can view everything
  • A button which will allow users to move to the next scene(s) and a "stop" button 
  • On the last frame of the last scene, a button which will allow users to start over from the first scene
  • Sound and/or music
Some of the ActionScript you will need includes:

/*  Custom Mouse Pointer Code  */
  onClipEvent (load) {
  Mouse.hide();
  startDrag(this, true);
}
onClipEvent(mouseMove){
  updateAfterEvent();
}

/*  Stop Code  */
stop();

/*  Button 'Go To' Code  */
on (release) {
  gotoAndPlay(10);
}

Here are some Step by Step Instructions:
  1. Open Adobe Flash
  2. Create a new document: FILE > NEW > Flash File (ActionScript 2.0)
  3. Create 3 Layers:  Pointer, Buttons, and Background
  4. On the background layer, draw a background
  5. On the pointer layer, draw a pointer
  6. Select the pointer background layer (it will select the pointer)
  7. Click Modify > Convert to Symbol > Movie Clip (name it Pointer)
  8. Right-click the pointer symbol and select "Actions"
  9. Enter the following ActionScript:
    onClipEvent (load) {
      Mouse.hide();
      startDrag(this, true);
    }
    onClipEvent(mouseMove){
         updateAfterEvent();
    }
  10. Press CTRL+ENTER to test your movie
  11. Draw a button
  12. Convert the button to a symbol (a button, obviously)
  13. Go out to Frame 10 (for example) and add a keyframe for each layer.
  14. Draw a new "scene" on Frame 10
  15. Right-click the first keyframe on any layer (black dot) and choose Actions
  16. Enter the following ActionScript:  stop();
  17. Right-click any layers last keyframe and choose Actions
  18. Enter the following ActionScript:  stop();
  19. Right-click the button and enter the following ActionScript (if you set the next scenes keyframe at 10):
    on (release) {
            gotoAndPlay(10);
    }
  20. Test your movie (CTRL+ENTER)
Once your movie is working (i.e. It opens and stays until you click the button -- and then it goes to the next section and stays) you can begin adding some flair.  Add sound effects, improve your mouse pointer, insert some music, insert pictures, etc.

Monday, April 16, 2012

For Today:

First: NO food, drink or games in the lab.  Don't lie to the sub.
  1. Check the Student Portfolio page below for your name.  If there is a [DA] next to your name, I have your Deviant Art address.  If you have a [-] next to your name, email me (rgriffith@kusd.lake.k12.ca.us) and give me your DeviantART address (__________.deviantart.com).
  2. Make sure I have your correct Blogger address.  A couple students have not yet given me their Blogger address (___________.blogspot.com).  If you are one of those, please email them to me ASAP.
  3. Upload your Flash projects (the SWF files with a JPG thumbnail) to your DeviantART page.  If you don't get them uploaded, I can't grade them.
  4. I will NOT be going through everybody's grades before I submit the final grades in the morning.  If you have added new projects to your portfolio and/or your DeviantART page, email me to let me know and I will look them over.
  5. Use the rest of the period to work on any missing assignments [if any] or experiment with other projects.

Thursday, April 5, 2012

Flash: Eyes That Follow the Mouse

Today we are going to be drawing an eye (facing left), converting it to a movie clip, dragging an instance to the desktop, naming your instances, adding some ActionScript, and testing it.  The result?  Eyes that follow the mouse pointer, obviously.  :)
  • Create a Flash ActionScript 2.0 file.
  • Create three layers (Actions, Eyes, and Content).
  • Add the following ActionScript to the Frame 1 of the Actions layer:
a = eye1._y-_ymouse;
b = eye1._x-_xmouse;
angleA = Math.atan2(a, b);
degrees = angleA/(Math.PI/180);
setProperty("eye1", _rotation, degrees);
a2 = eye2._y-_ymouse;
b2 = eye2._x-_xmouse;
angleA2 = Math.atan2(a2, b2);
degrees2 = angleA2/(Math.PI/180);
setProperty("eye2", _rotation, degrees2);
  • Click on Frame 1 of the "Eyes" layer
  • Draw a large circle (usually a black line and a white fill) [holding shift while dragging the circle helps it stay circular]
  • Draw a smaller circle on the inside-left of the larger circle (about 9:00) which will serve as the pupil
  • Select the entire eye [you can drag around the eyeball or click CTRL+A]
  • Go to MODIFY > CONVERT TO SYMBOL
  • Select "Movie clip" and call the clip something like "eyeball".
  • Drag the eyeball over so that the "+" is directly in the center
  • Go back to "Scene 1"
  • Press "Delete" to remove the eyeball from the Stage
  • Drag two "instances" of the "eyeball" on to the stage [a left and right eye]
  • Click on the left eye and give it the "instance name" of "eye1"
  • Click on the right eye and give it the "instance name" of "eye2"
  •  Test your movie (CTRL+ENTER) -- the eyes should "look at" your mouse pointer.
  • Add a background picture and resize the eyes accordingly to fit.
  • Optionally you can add a custom mouse pointer to give the eyes something interesting to look at.

Below is a Video Tutorial which doesn't follow our project exactly, but should help explain the process:

Wednesday, April 4, 2012

Custom Mouse Pointer

To create a custom mouse pointer in one of your Flash movies, we just need to add a short snippet of ActionScript to a movie clip.
  • Create a new Layer on top of all other layers.
  • Draw a "mouse pointer" of any shape, color, etc.
  • Select the pointer (I click on the keyframe to select everything)
  • Convert your pointer to a symbol (movie clip) and call it "Pointer"
  • Right-Click the new symbol and Select Actions
  • Paste the following code in the Actions
onClipEvent (load) {
Mouse.hide();
startDrag(this, true);
}
onClipEvent(mouseMove){
updateAfterEvent();
}
______________


Test your movie (CTRL+Enter)

You may need to adjust where the "point" is on your pointer:

  • Double-click the pointer to open the clip
  • Adjust the "point" to be right on the + sign
  • You can also add animation if you would like

Monday, April 2, 2012

Multimedia Greeting Card Template

If you are having serious difficulty getting your Flash "Multimedia Greeting Card" working properly -- or you need to start over... or the computer crashed... or any number of other reasons -- try downloading this Multimedia Greeting Card Template, opening it up in Flash, and customizing it to be your own.  In the "spirit of the holidays" I have even added the ActionScript in for you.  :)

We will be working on this project through Thursday.  On Friday, we're going to be creating a "Custom Mouse Pointer"; you may want to create yours in your Greeting Card.

The following is an example of the "Multimedia Greeting Card":

REMEMBER:

•  Add your name to your projects
•  Save Photoshop projects as PSD and JPG
•  Save Bryce projects as BR7 and [Save Image As] JPG
•  Save Sculptris projects as SC1 and JPG and export it as an OBJ.
•  Save Rhino projects as 3DM and JPG
•  Save Flash projects as FLA and go to FILE>PUBLISH SETTINGS and publish as SWF and JPG
•  Upload finished projects to your portfolio and/or your DeviantArt page
•  Keep checking your grade on PowerSchool