Tuesday, October 18, 2011

Virtual Makeover / Photo Retouching

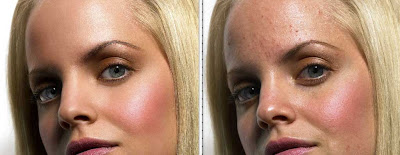
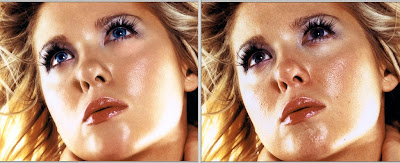
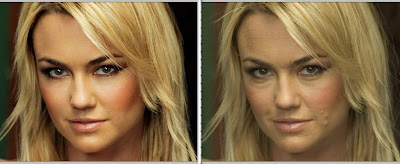
Today we are going to explore doing a virtual makeover.  In a previous assignment we took a face with scratches or pimples and retouched it to make it look a little more natural.  Today we are going to go a little further by beautifying someone.  In short, we are going to take a photo of someones face and smooth wrinkles, remove blemishes, adjust colors, brighten teeth and eyes, etc.  We can even try some "virtual makeup".  


Remember that we aren't trying to make anybody into a super model, we're simply trying to bring out their natural beauty.


You can search for "no makeup" on Google Images for some examples.  Click here to see a few:  http://tinyurl.com/3727dqn.  


Here are some celebrities [mostly] without makeup: http://www.funzug.com/index.php/celebrities/celebs-without-makeup-portraits.html


Here are some examples of Virtual Makeovers:
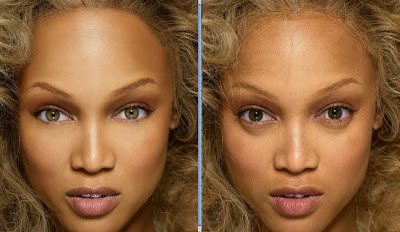
If you would like to follow along with a video tutorial, you can check these out:

No comments:

Post a Comment

REMEMBER:

•  Add your name to your projects
•  Save Photoshop projects as PSD and JPG
•  Save Bryce projects as BR7 and [Save Image As] JPG
•  Save Sculptris projects as SC1 and JPG and export it as an OBJ.
•  Save Rhino projects as 3DM and JPG
•  Save Flash projects as FLA and go to FILE>PUBLISH SETTINGS and publish as SWF and JPG
•  Upload finished projects to your portfolio and/or your DeviantArt page
•  Keep checking your grade on PowerSchool